1
 2
2 2
2
 4
4
1: The day after glueing in place
2: The two tools needed for placing the 1/16" stringing: a syringe for glue and a hammer to tap in place. Some planing and sanding of the individual pieces is necessary to ensure a good tight fit.
3: After the glue has dried the stringing is planed and scraped flush with the surface.
4: The ends are cut flush in preparation for the edging to be applied.
 2
2
1: Lots of clamps are used in applying even pressure to the 3/8" solid edgings.
2: Once all the edgings are on and the glue is dry, they are planed a scraped flush in the same way that the stringing was.
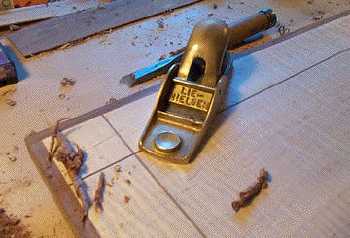
3: My Lie Nielsen low angle block plane is a joy to use. Here is a closer look at the top.
 2
2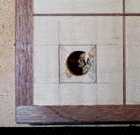 3
3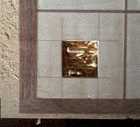 4
4
1: Laying out the mortices: this is done by carefully positioning the top on the tenons and marking thier exact location on the underside. Then the lines are very carefully transferred over to the top side. A sharp chisel is used to cut the line as a scribe mark, on both sides.
2: Once the location of the mortice is determined a hole is bored right through the top to hog much of the waste.
3: Using sharp chisels I carfully chop out the waste wood, and pare to the scribe lines.
4: A little more paring and some touches with a good file and all four tenons slide into place. I will taper the mortice only slightly to accomodate the wedges that will eventually be fit into the top of the tenon.


